Microsoft’s Windows 11 installation process often attempts to push users toward signing in with a Microsoft Account (MSA), which typically requires an active internet connection. This can be frustrating for users who prefer a local account for privacy, faster setup, or simply lack an available network connection at the time of installation.
Fortunately, there are still reliable methods to bypass this requirement and complete the Out-of-Box Experience (OOBE) entirely offline. This article provides a straightforward, step-by-step guide on how to perform a truly offline installation of Windows 11, focusing on the most effective workaround.
The Command Prompt Bypass Method (Recommended)
This method utilizes the command prompt during the OOBE phase to bypass the mandatory network connection screen, allowing you to create a local account. This is currently the most popular and broadly effective technique.
Step-by-Step Guide
- Start the Windows 11 Installation: Proceed with your clean installation using your bootable USB drive or other media. Follow the initial prompts for language, time format, and keyboard layout until you reach the “Let’s connect you to a network” screen.
- Open Command Prompt: At the network connection screen, press the Shift + F10 key combination on your keyboard. (Note: On some laptops, you may need to press Shift + Fn + F10). This action will open a Command Prompt window.
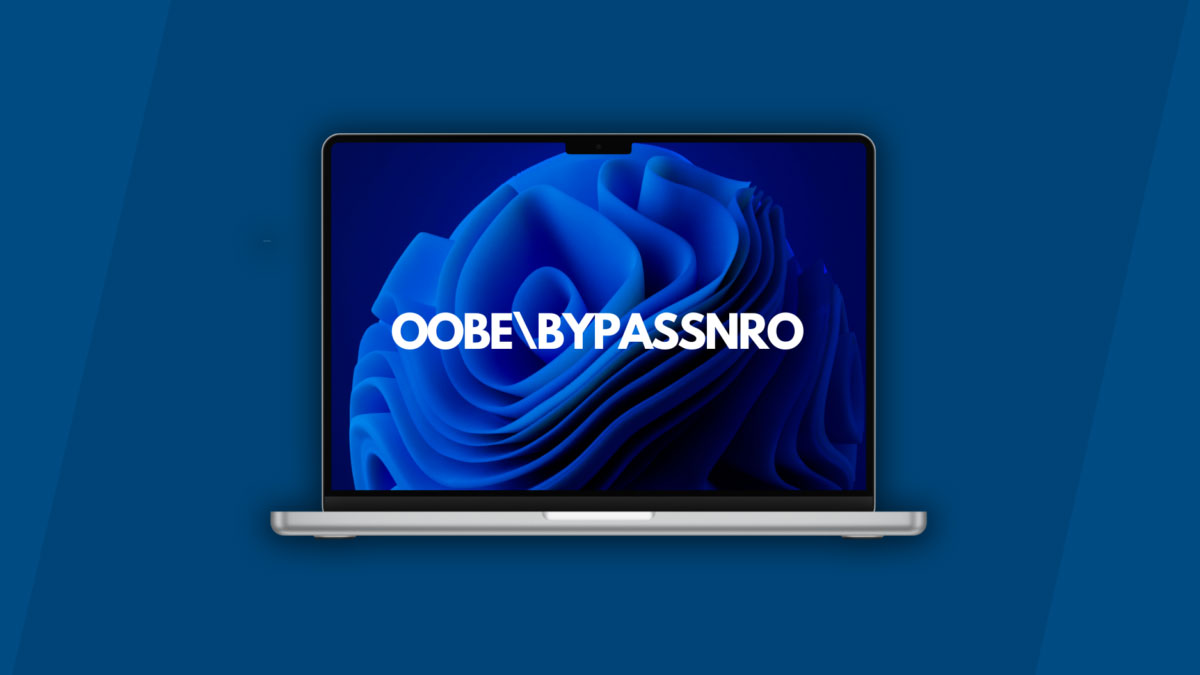
- Execute the Bypass Command: In the Command Prompt window, type the following command exactly as shown and press Enter:
OOBE\BYPASSNRONote: Ensure you use a backslash (\), not a forward slash (/).
- System Reboot: The system will automatically reboot and return you to the beginning of the OOBE (e.g., the region selection screen).
- Continue Offline Setup: Proceed through the region and keyboard setup screens again. When you return to the “Let’s connect you to a network” screen, you should now see a crucial new option: “I don’t have internet” or a similar link.
- Select the Offline Option: Click on the “I don’t have internet” option.
- Continue with Limited Setup: On the next screen, click “Continue with limited setup” (or similar phrasing). This confirms you want to proceed without connecting to a network.
- Create Your Local Account: You will now be taken to the user creation screen, which asks, “Who’s going to use this device?”
- Enter your desired local account username.
- Click Next.
- Set a password (optional, but highly recommended) and click Next.
- Complete the rest of the OOBE prompts, such as setting up security questions and privacy settings.
Congratulations! Your Windows 11 installation will now complete using a local user account without requiring an internet connection.